Users
The users tab allows you to create, delete, edit and manage users.
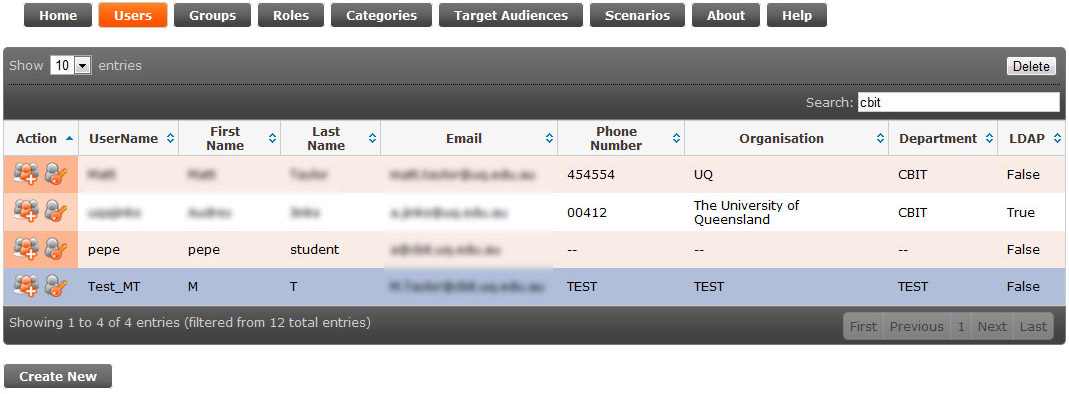
Create a user by clicking on the "Create New" user button found on the bottom left of the User page. (see tab "Groups" for bulk User upload").
LDAP Difference:
If you have enabled LDAP within your SBL Interactive server instance there is no need to manually create user accounts. Any user who authenticates using their institute username and password will have an account automatically created, along with their LDAP assigned groups. This automatic account creation doesn't necessarily mean access to the scenarios listed within.
Note: Even
though LDAP may be configured, you can still create SBLi
managed user accounts, if desired.
Delete a user by selecting the user and
pressing the delete button at the top right. After
confirming delete, it cannot be undone.
Edit a user by double clicking in the field that requires edits. The only fields that cannot be edited in this way are username and LDAP reference.
Edit Groups to add or remove additional groups to a user, click the
edit icon (![]() )to the left of the user. Once you have
selected the groups click on the ”Assign” button at the
bottom of the page. An email will then be sent to the user
notifying them which groups they have been assigned to. See Groups for further details.
)to the left of the user. Once you have
selected the groups click on the ”Assign” button at the
bottom of the page. An email will then be sent to the user
notifying them which groups they have been assigned to. See Groups for further details.
Reset password: icon (![]() ) will rest the password and send an email to the user.
) will rest the password and send an email to the user.
LDAP Difference:
Passwords cannot be reset for LDAP users. A dialogue box will appear stating "Your password and account is currently centrally managed. Please visit your organisations support desk to request a password reset".